The following article comes from the original PuzzleForge.com website.
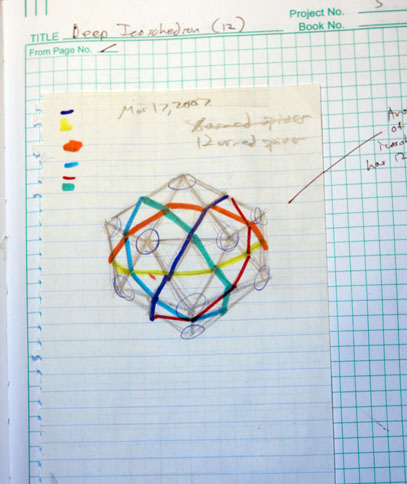
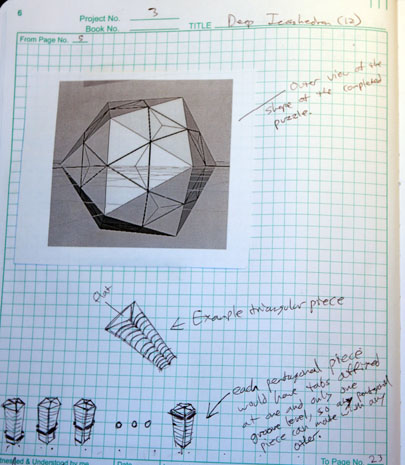
| In early 2007, I made a pencil sketch of a deep cut vertex turning icosahedron puzzle. I later realized this ground had been covered by others before in dodecahedron form, including Christopher Pelley, who coined the name “Pentultimate”.
The first Pentultimate was completed on March 19th at around 8 PM. Here’s a little back story on how this puzzle was created.
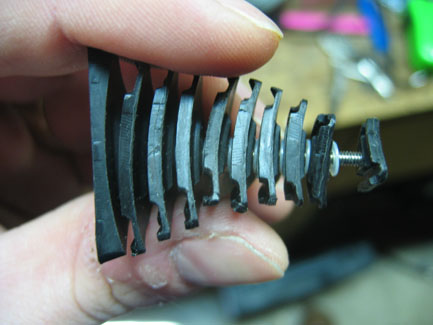
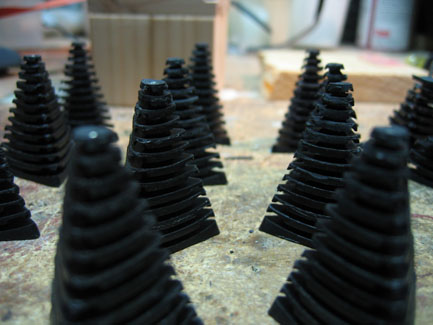
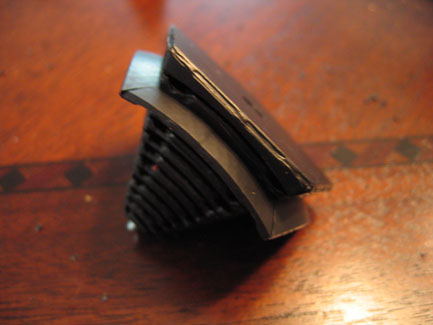
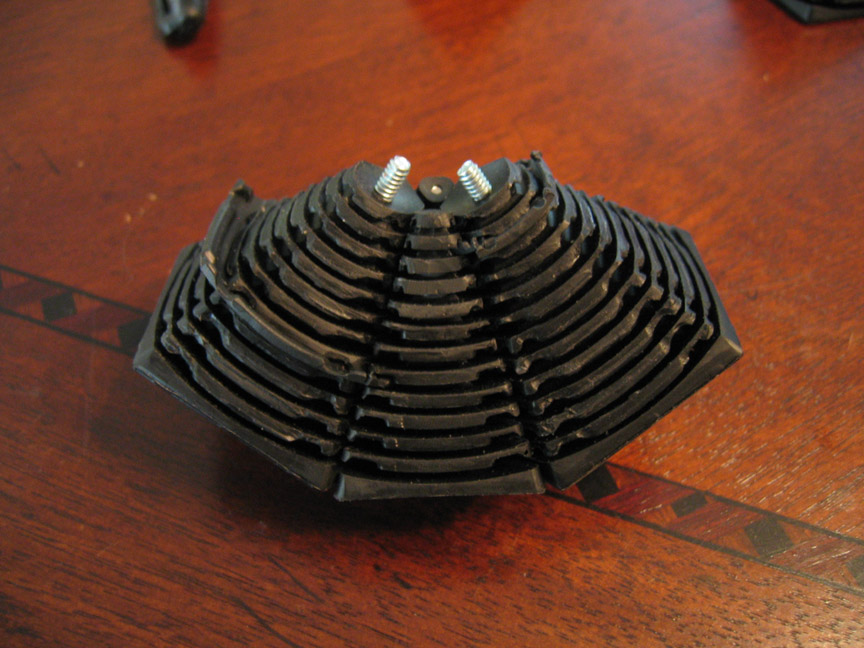
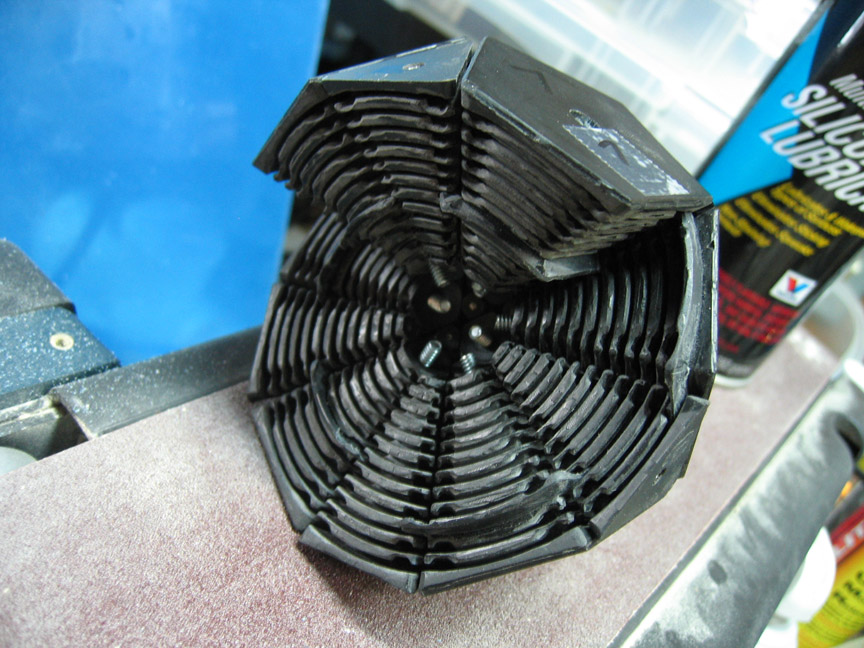
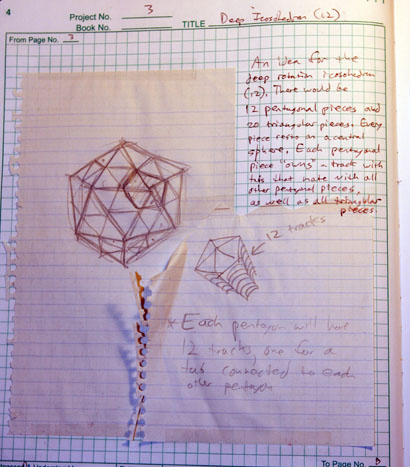
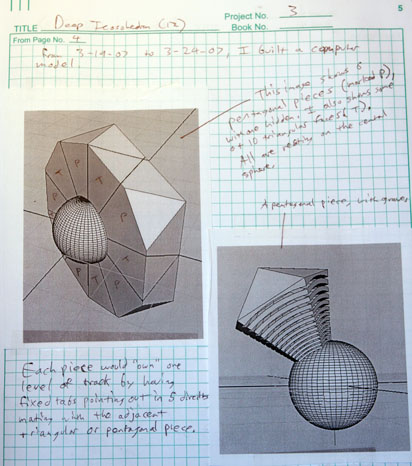
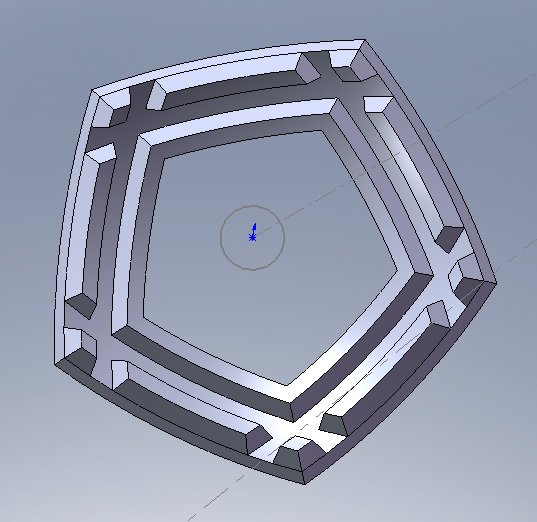
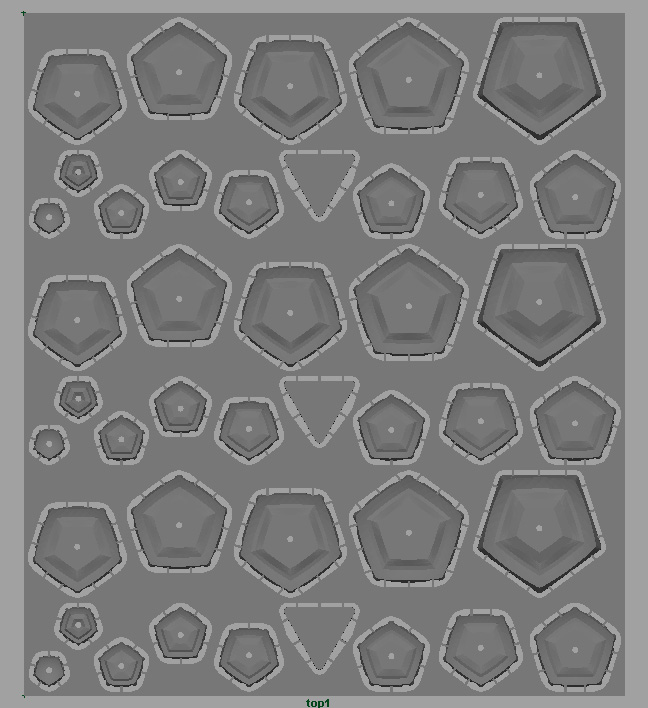
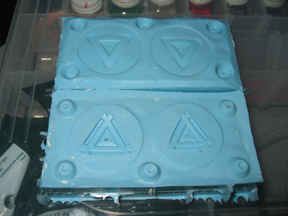
The Pentultimate mechanism is made of of 20 triangular and 12 pentagonal shard-like pieces. Every piece has 12 built in female grooves at 12 different vertical levels. The grooves line up when the pentagonal pieces and the triangular pieces are placed together as shown. Each pentagon owns one level of the track, and has male tabs protruding from one single distinct level. The tabs fit in the grooves of all the other parts. Since each pentagon has male tabs at a distinct level, any pentagon can pass by any other pentagon, and the male tabs won’t collide, being at different levels.
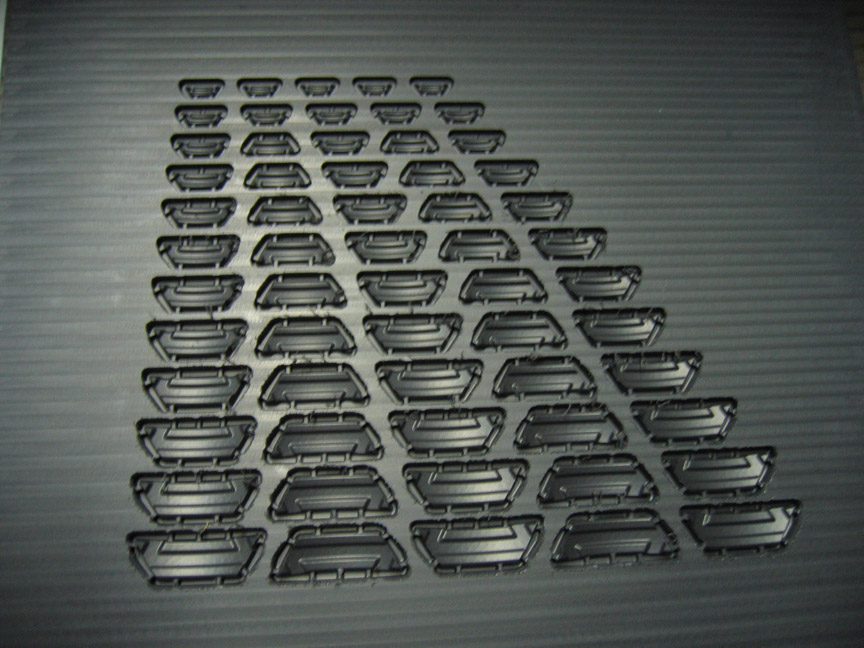
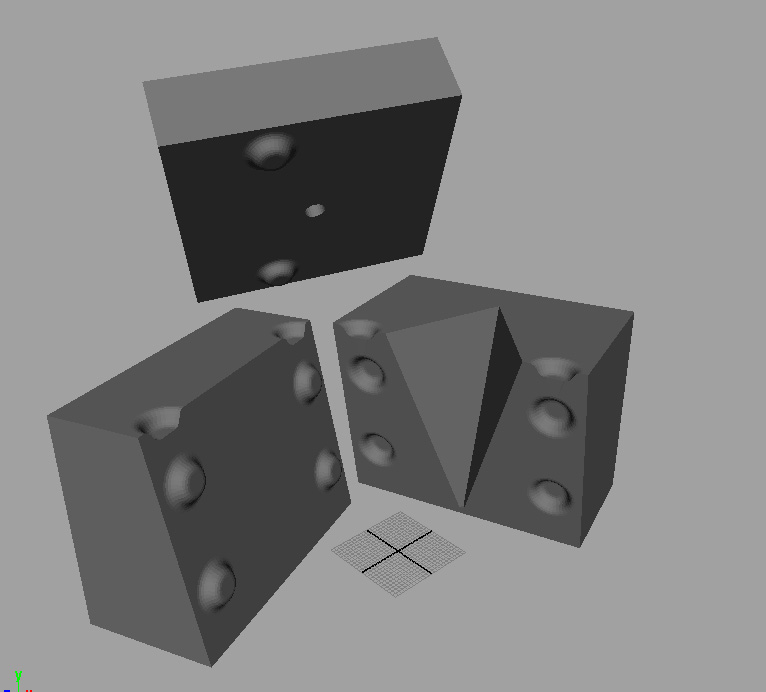
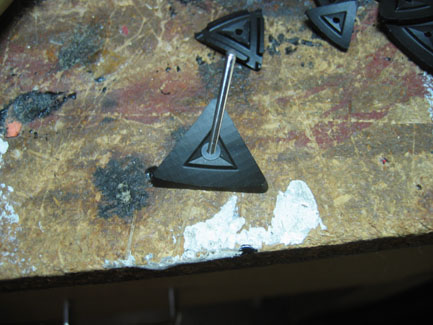
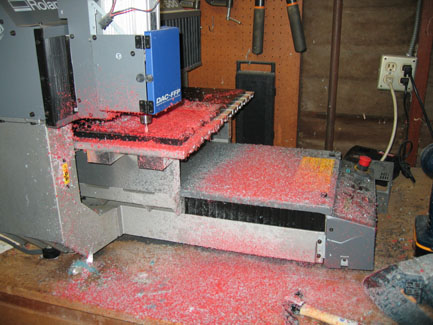
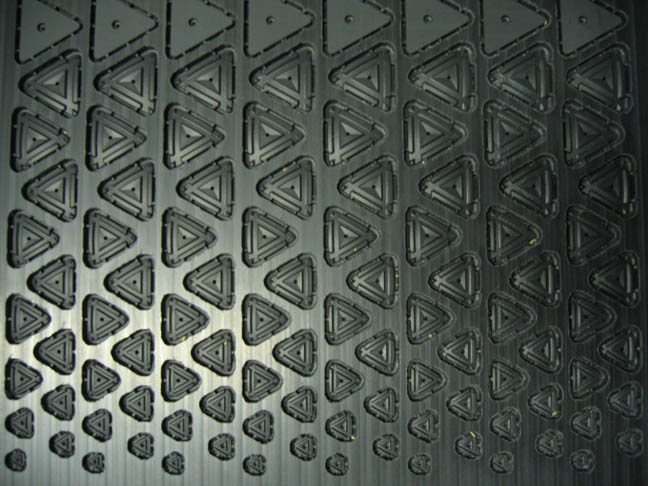
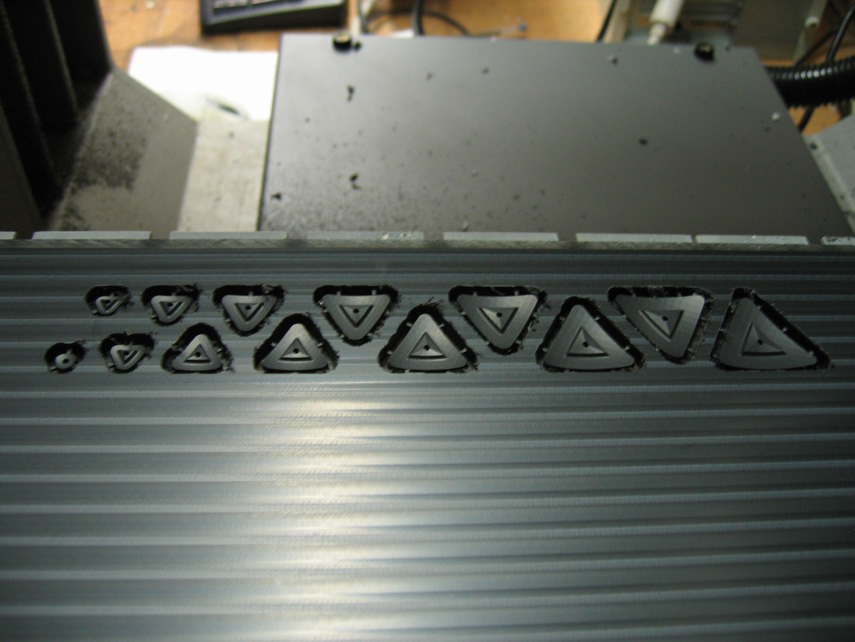
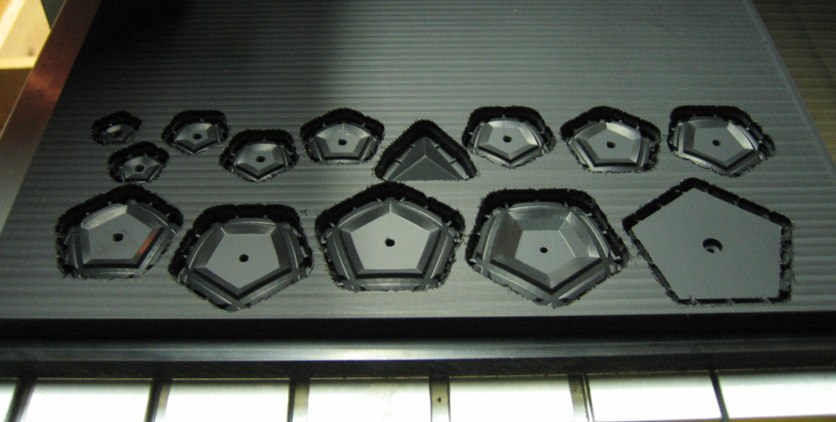
The male tabs (of 12 sizes) are modeled separately, and are designed to fit at their one distanct level perfectly. Shown here is the model for one of the tab levels. The software automatically positions the parts for conservation of material, and determines how many support posts to add based on the part size. The triangles were done first. 13 different triangle sizes were modeled in Solidworks, as well as a triangular cap which adds the pentultimate vertex. Note the hole in each part. The hole has been carefully sized to thread to a #2 screw that will hold the stack of parts firmly together.
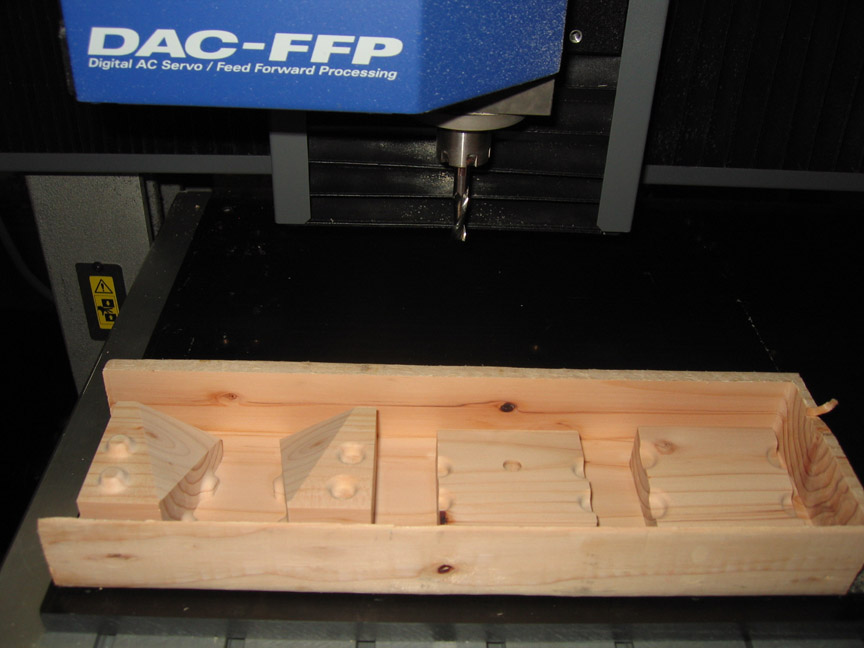
Each side took about a week for the machine to finish. Because of the long machining time, I decided to cast parts later to avoid machining all the pieces needed.
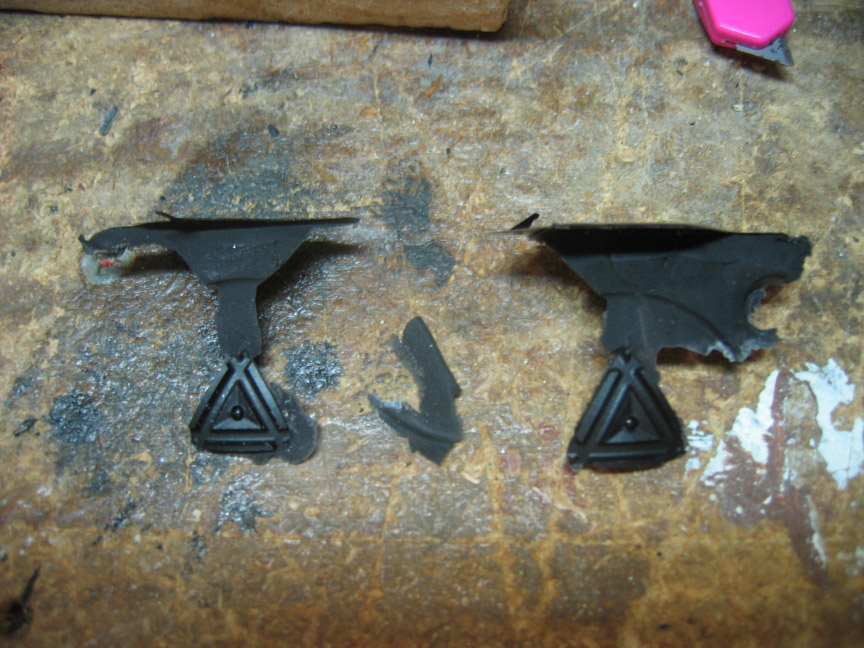
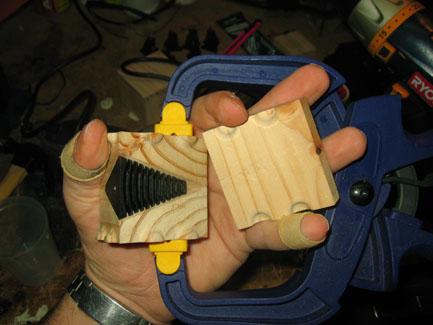
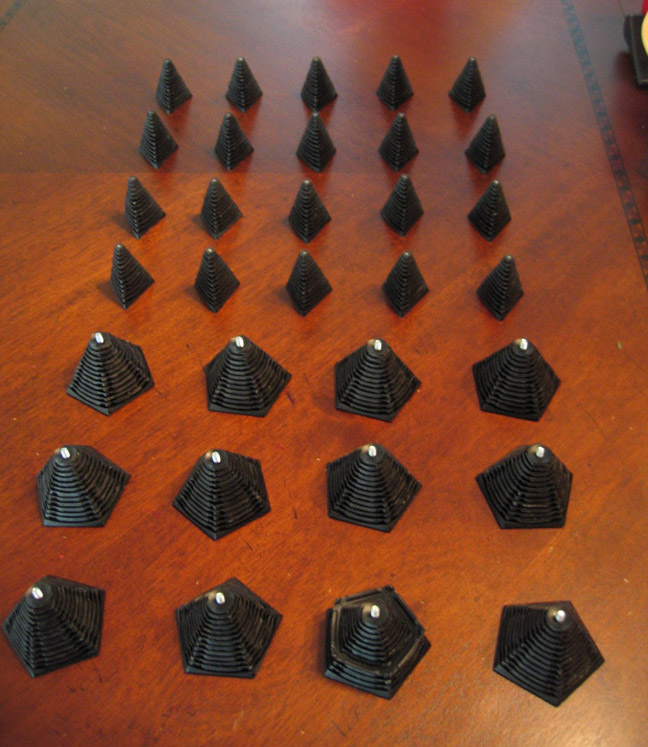
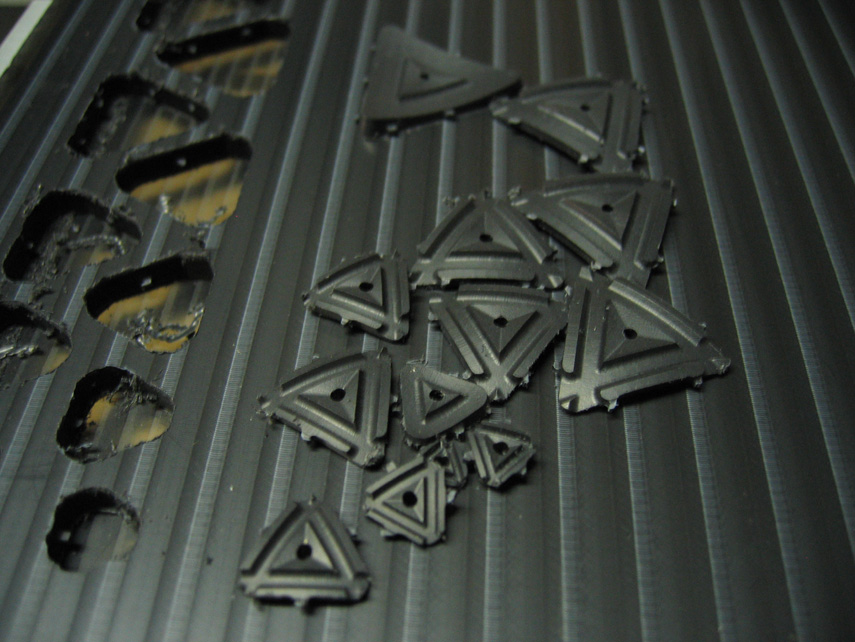
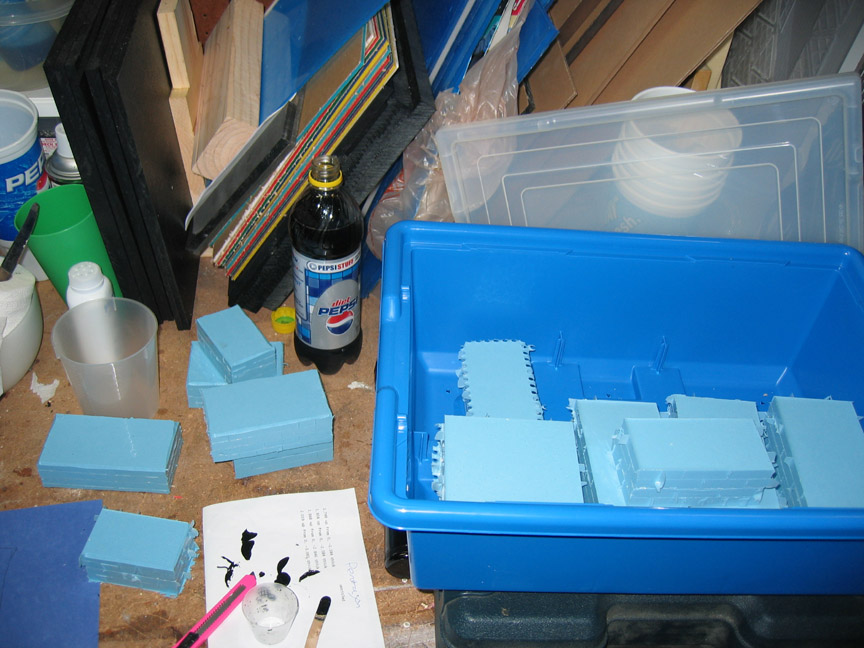
Once both sides of a row of parts were finished, the support bars were cut and sanded off.
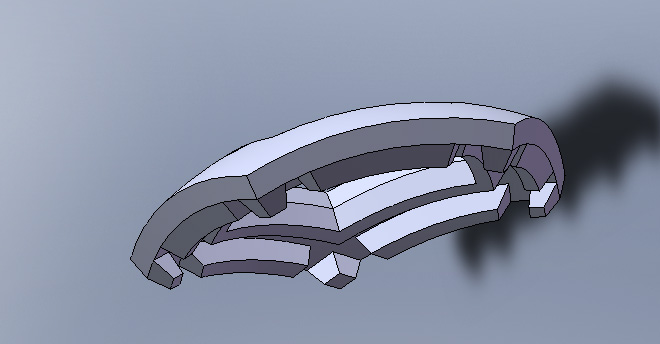
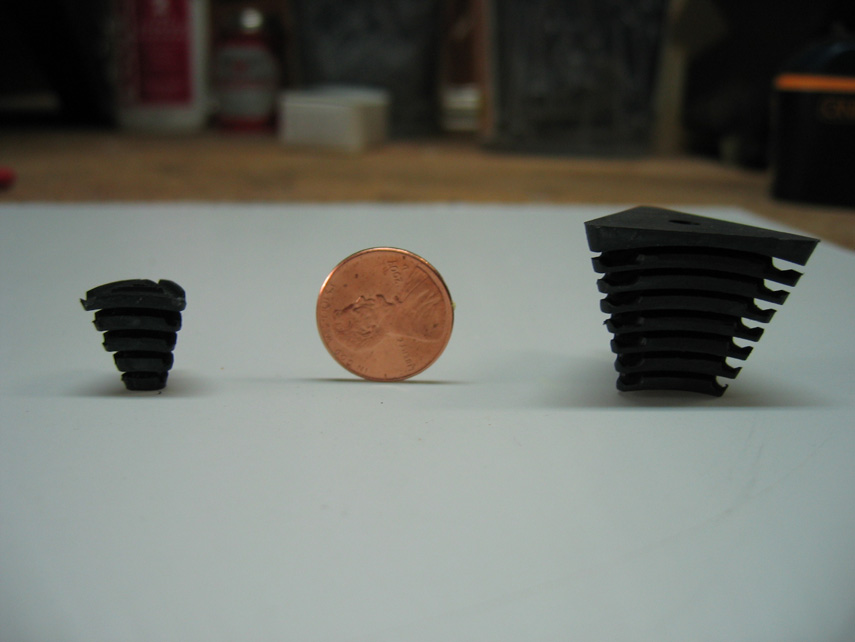
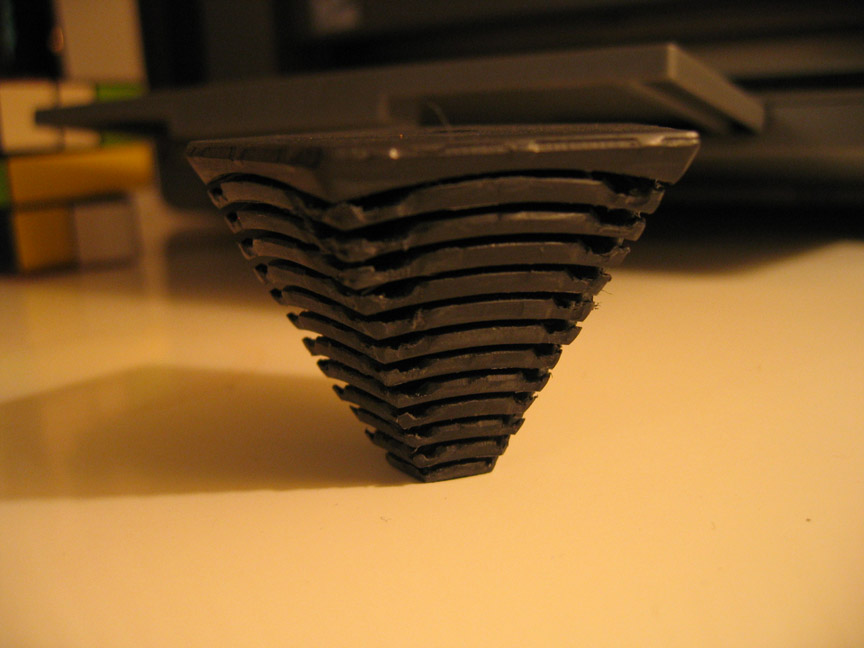
Seeing how they stack up:
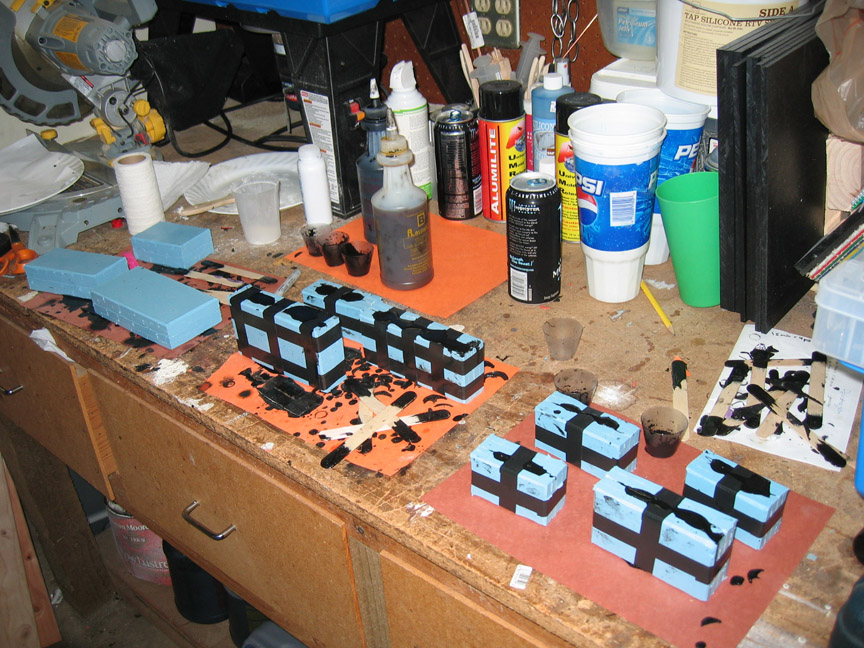
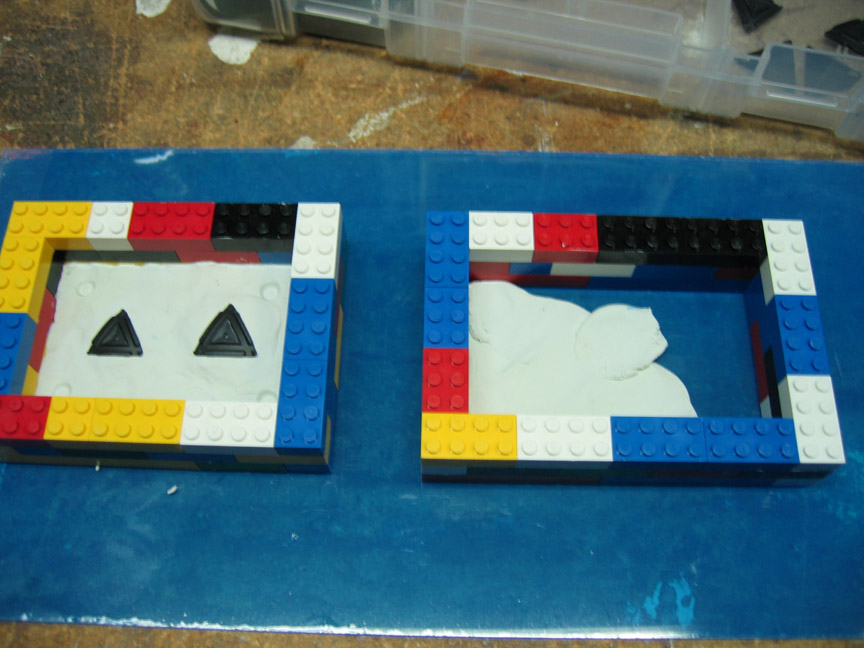
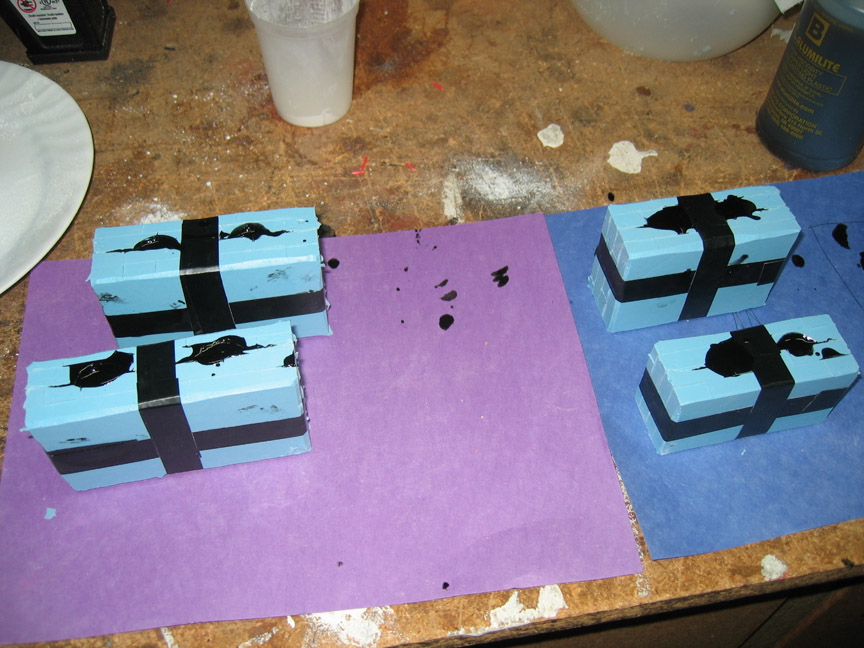
Soft white sulfur-free oil based clay was used to build the parting line. The clay separation must be as clean as possible to get flash-free castings later.
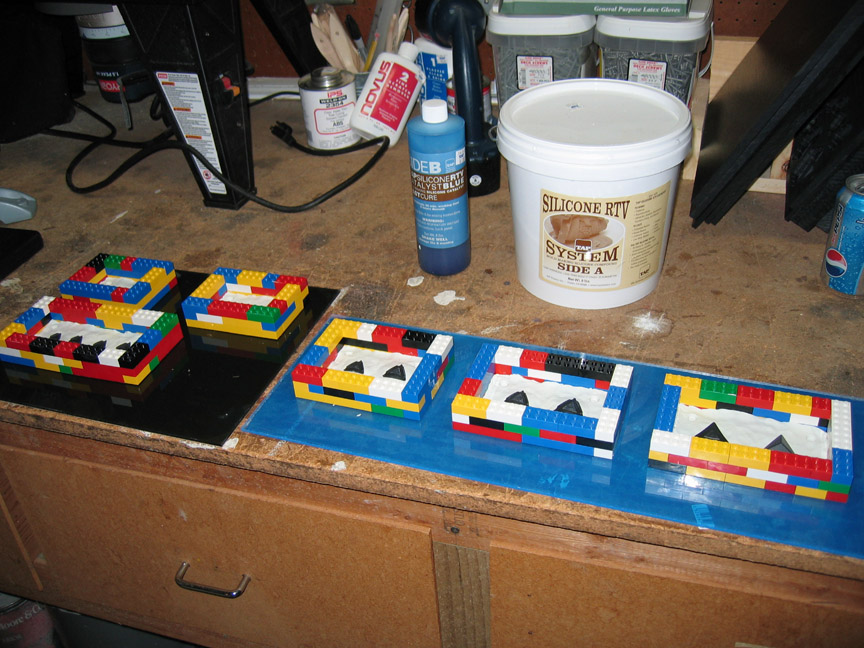
Once all the parts were prepared with clean parting lines and Lego walls, they were ready for silicone.
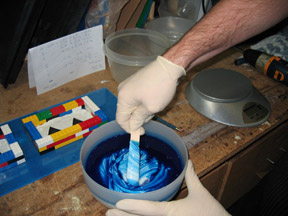
The silicone I used was a 2 part system with a 10:1 ratio by weight. After calculating the volume needed to fill my molds, I prepared the right amount of silicone.
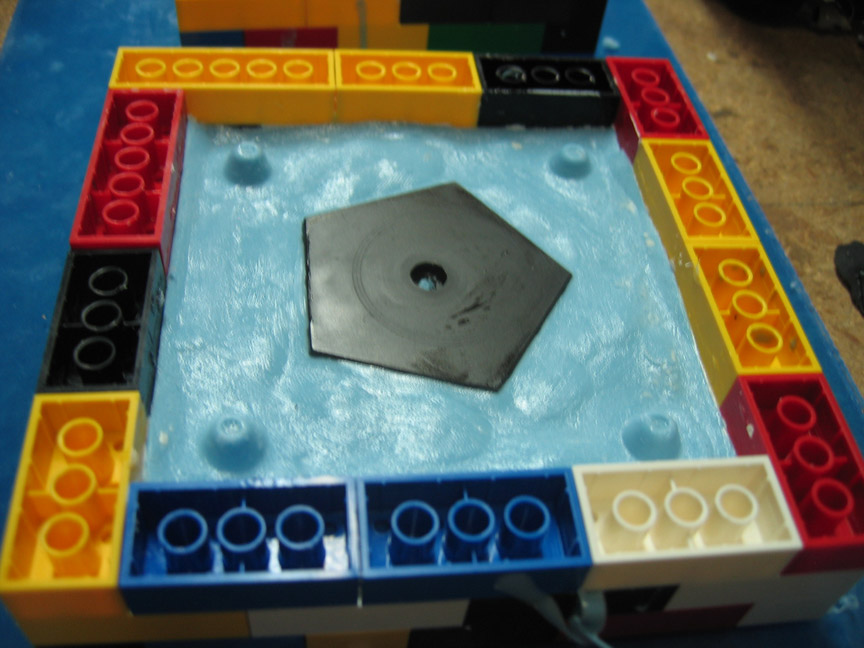
After 24 hours, the molds were turned upside down, and the clay was removed. The silicone was uniformly coated with petroleum jelly. Silicone will stick very well to silicone, so it’s important to use the right rubber to rubber release. My first batch of pentultimate molds were unusable because I used a universal release, and my molds glued shut.
14 individual 2 part molds were created from the machined masters.
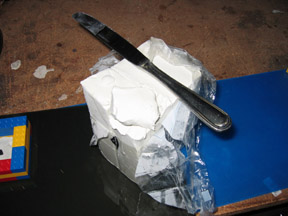
Once cured, the parts were removed from the molds, and flashing was removed with a razor blade. Each part was then re-drilled with the appropriate size screw hole. Only 430 left to go.
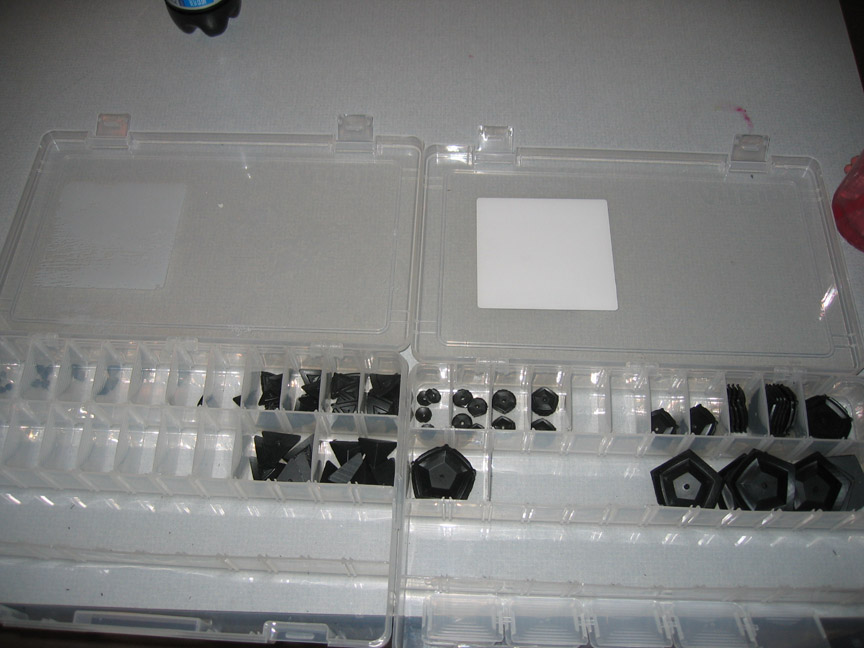
Parts were sorted into tackle boxes to keep them organized. Casting the parts took a few weeks to complete.
The smallest tabs required a 1/32 inch end mill.
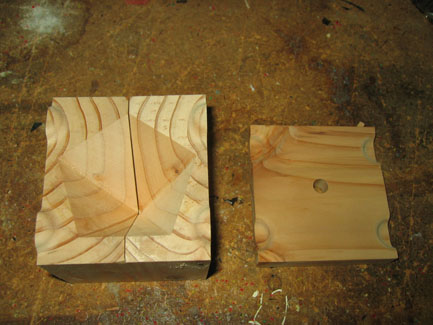
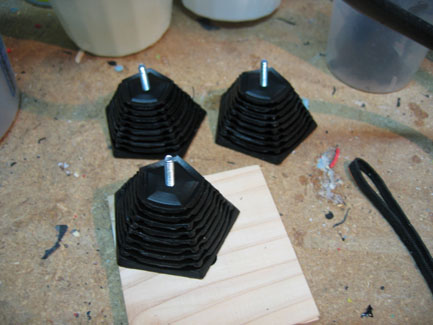
To hold the parts in straight stacks for fastening together with a screw, jigs were required. The jigs were designed in Solidworks, keeping their size under the size of a “two-by-four”. Then the jigs were machined from soft wood stock.
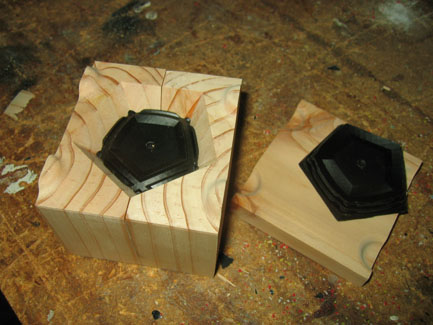
The parts were stacked up inside the jig.
And the jig was clamped shut for driving the screw.
A jig was also made for the pentagonal pieces.
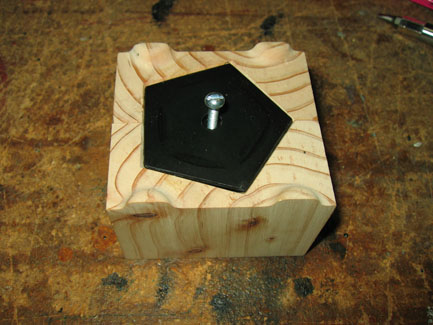
The pieces were stacked carefully inside.
And then a screw was driven through all the parts in the stack to fix them together.
At this point, I discovered an error in machining, and realized that each triangle part was 0.13 mm too thin. The difference is very small, but the error stacks up. Luckily, nylon washers were available at this thickness, so I used one between each triangle part.
Here you can see the spacing washers. If this had not worked, I would have had to start over. Most of the parts slide onto the screw freely. Only the last 4 actually thread.
With the spacers, the triangles and pentagons line up as they should. What a relief!
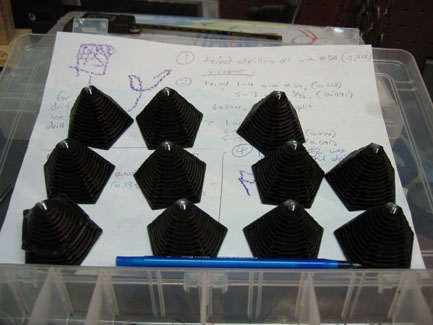
Here, the first few triangle shards have been completed.
A week later, more were finished.
The pentagon stacks were assembled in the same way.
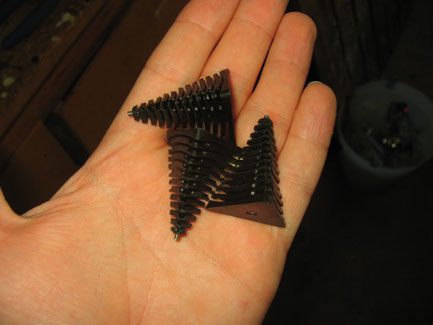
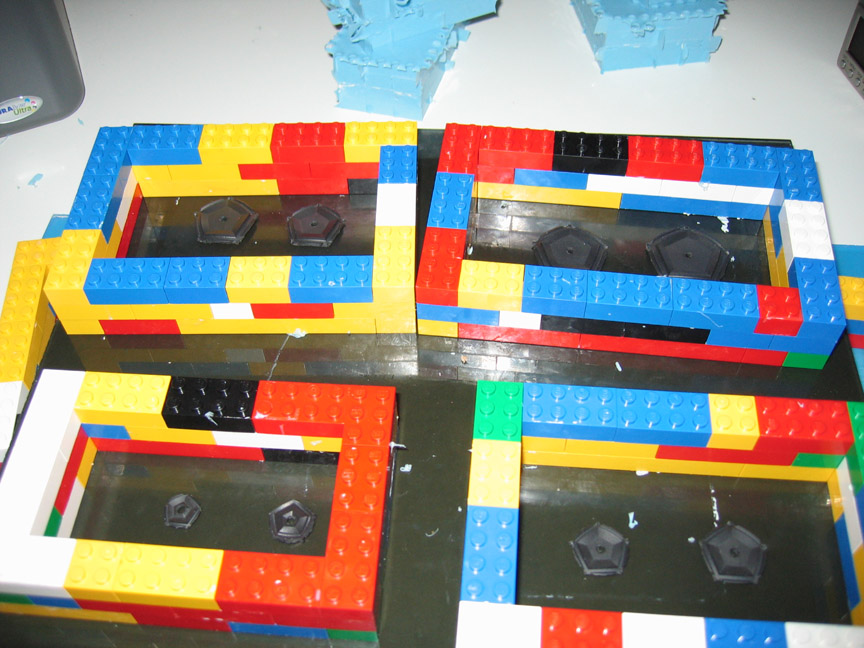
Pentultimate pieces can also be used to play Towers of Hanoi. Two puzzles in one.
Only one more pentagon to go!
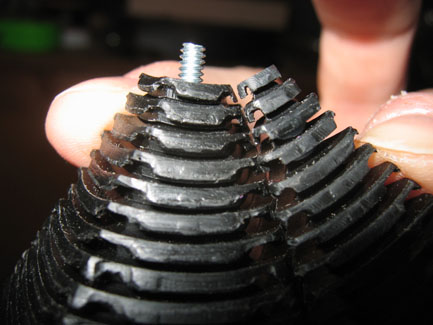
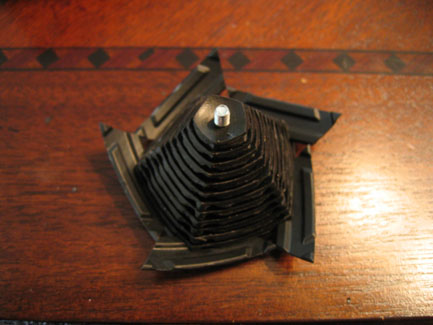
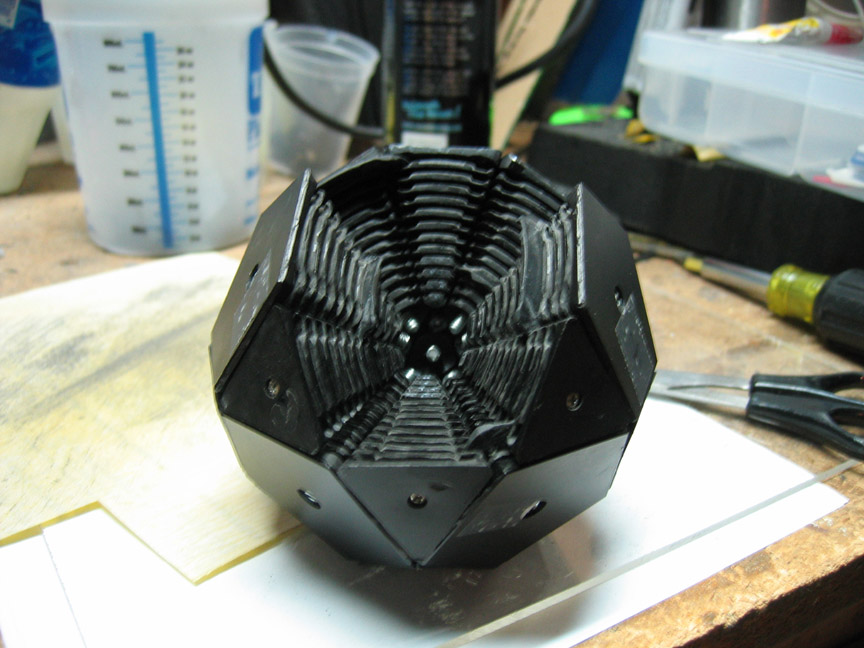
Each pentagon gets male tabs inserted at one level. They all must slide in at the same time as shown in this picture.
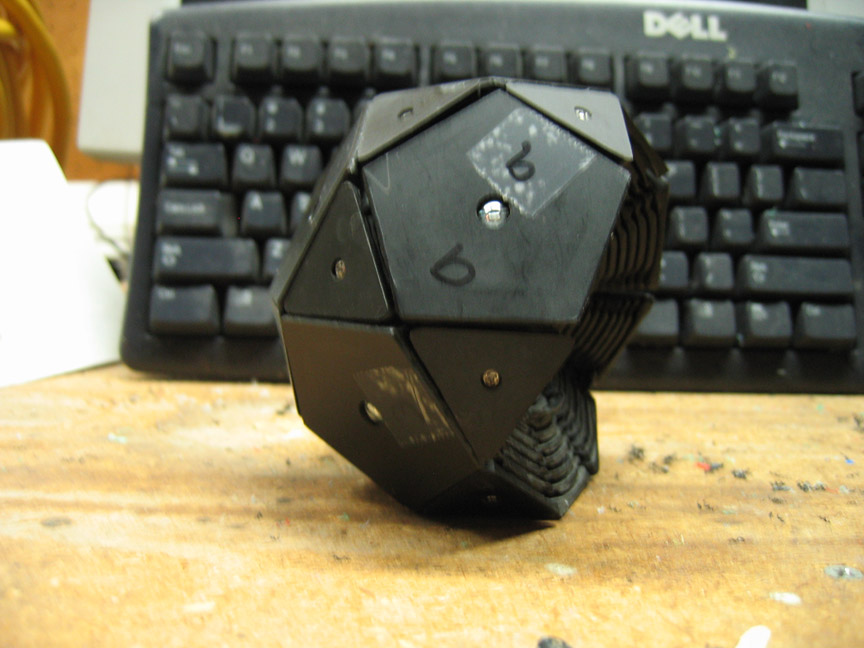
This pentagon is #2, with tabs at the second level.
The tiles were modeled in Solidworks, and then applied to a model in Maya as a test. A few iterations were required to get the thickness of the tiles right.
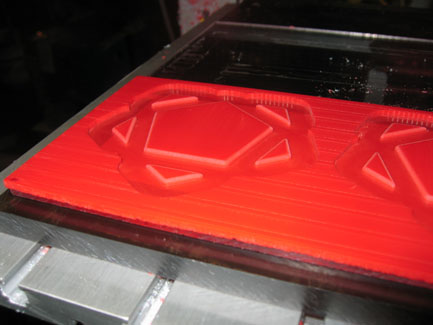
The acrylic was first surfaced to an exact thickness, so that the tiles would be held together by a very thin film of acrylic while being machined. 6 different colors of tiles were machined, making a colorful mess!
Once finished the tiles were carefully removed from the machine, broken from surrounding material, and sanded to clean up the edges.
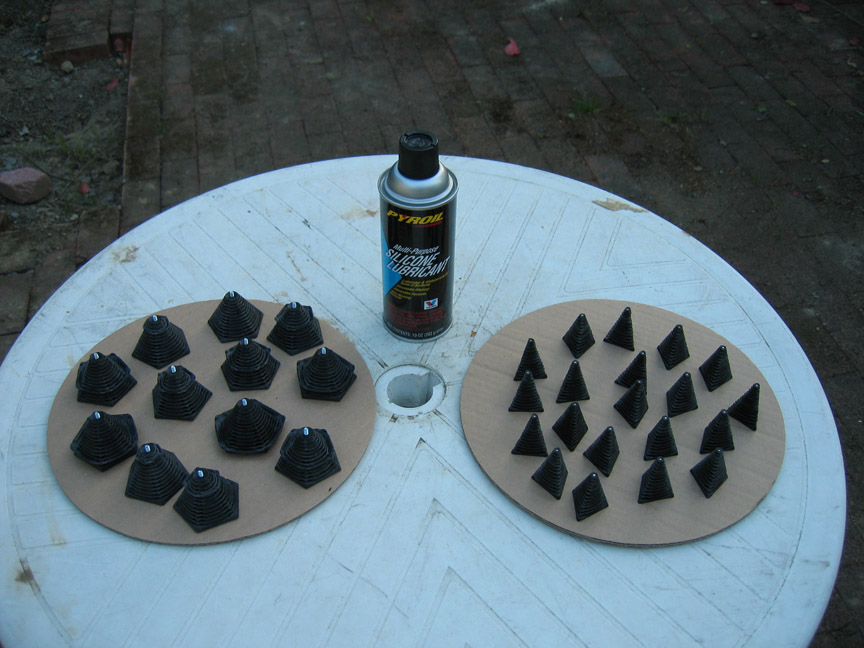
20 triangular pieces and 12 pentagonal pieces have been finished.
I took them outside for a bit of silicone lubricant.
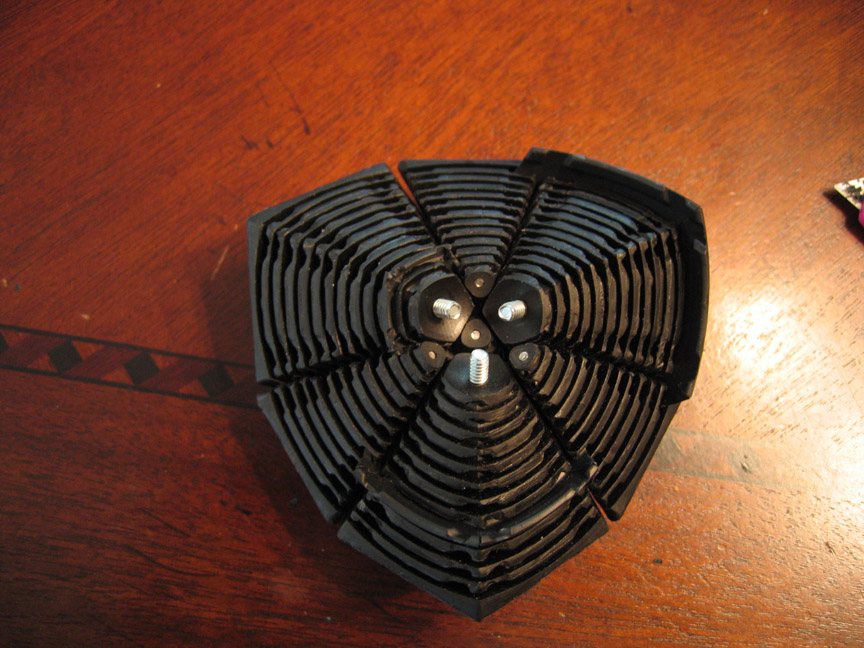
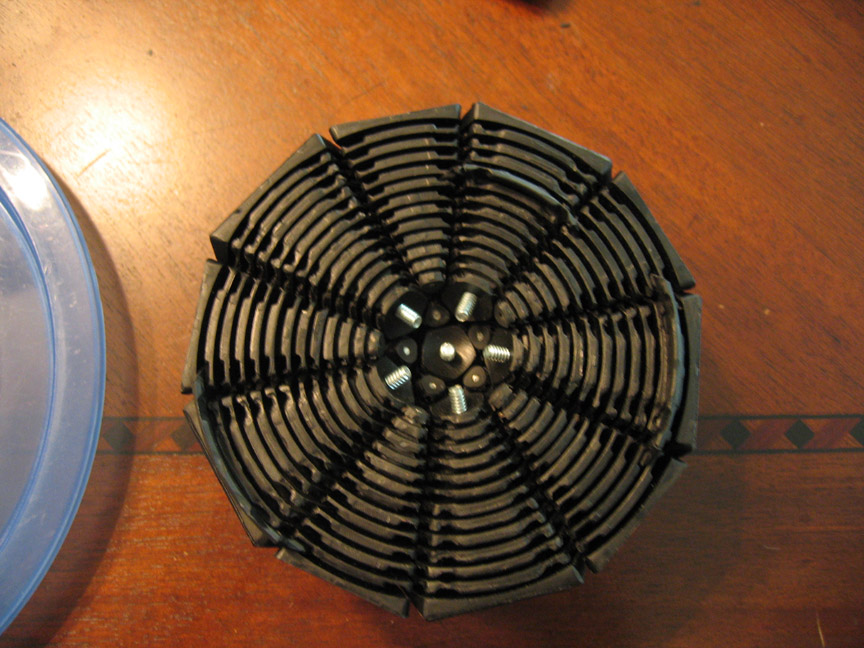
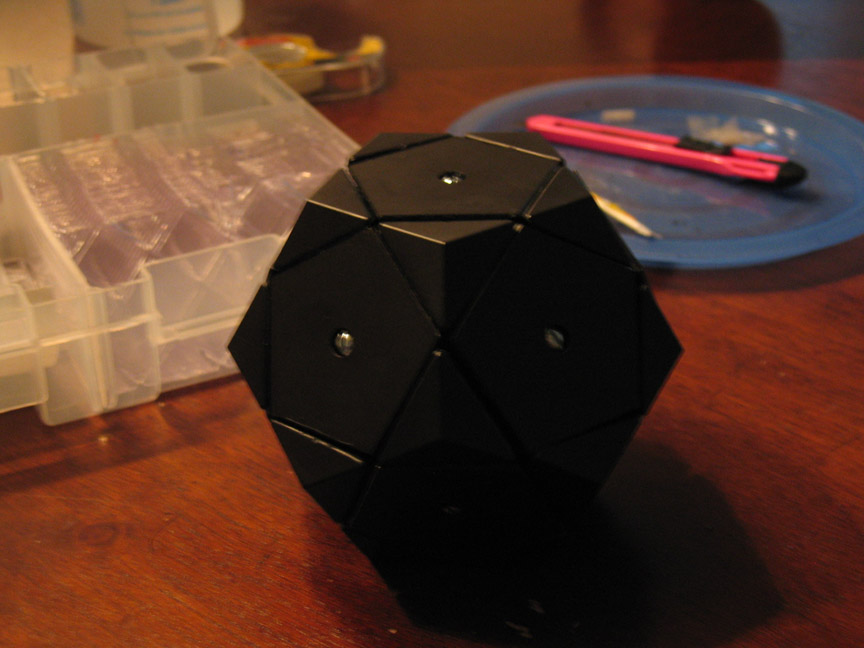
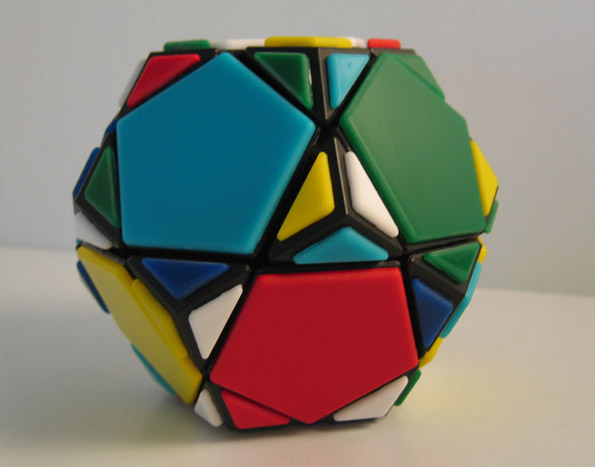
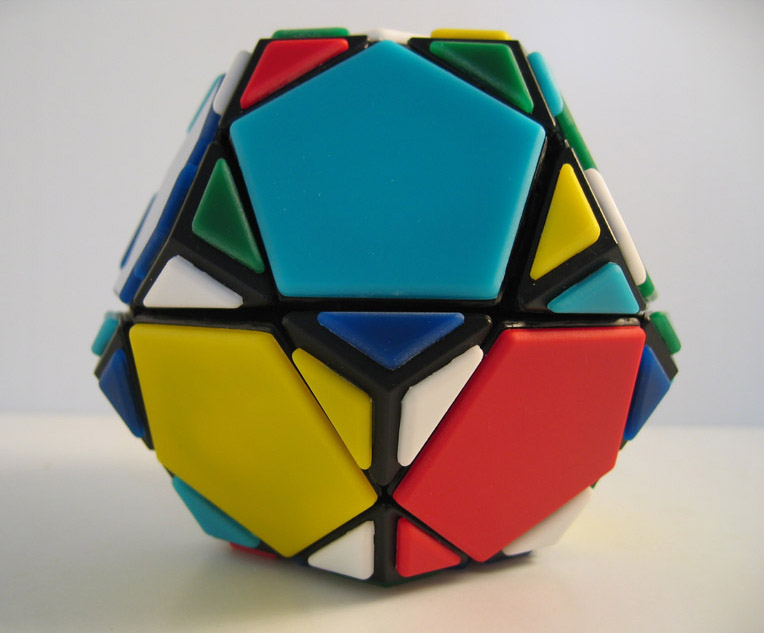
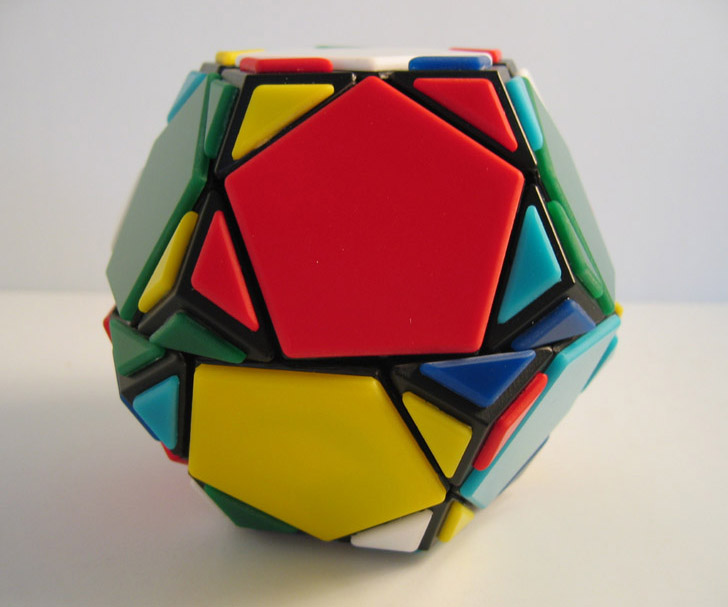
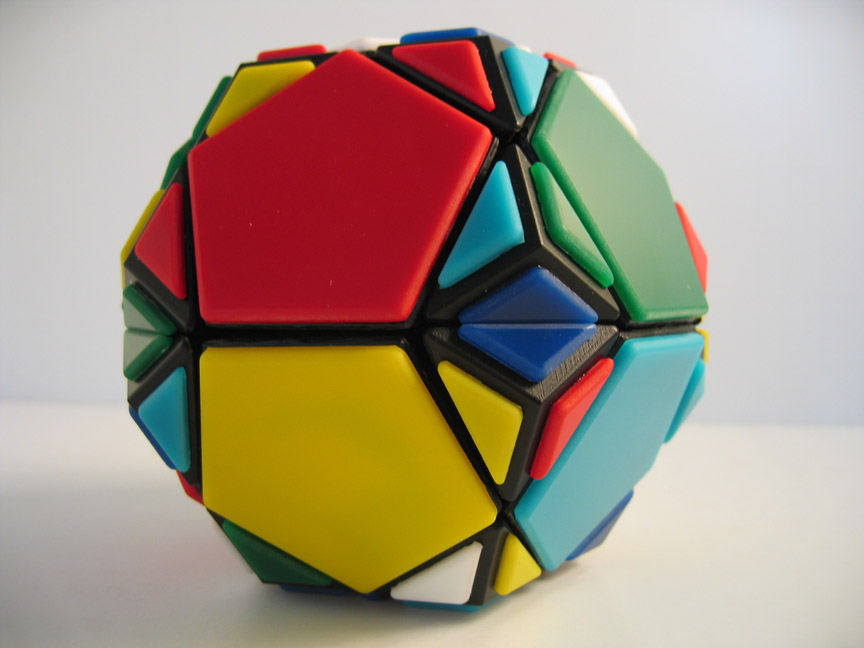
Here are a few pictures of different stages of assembly.
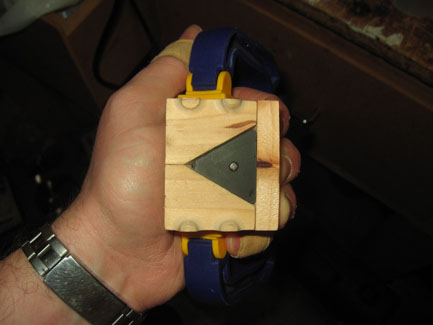
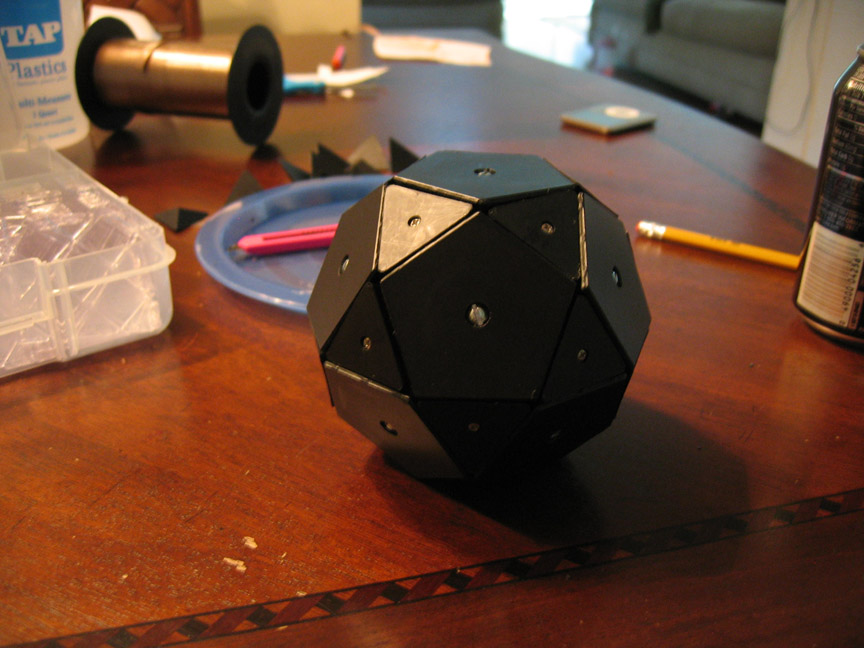
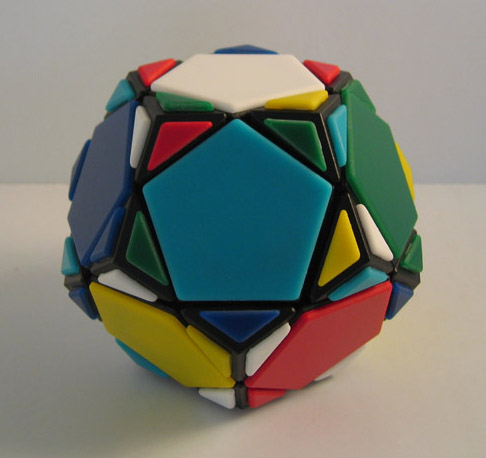
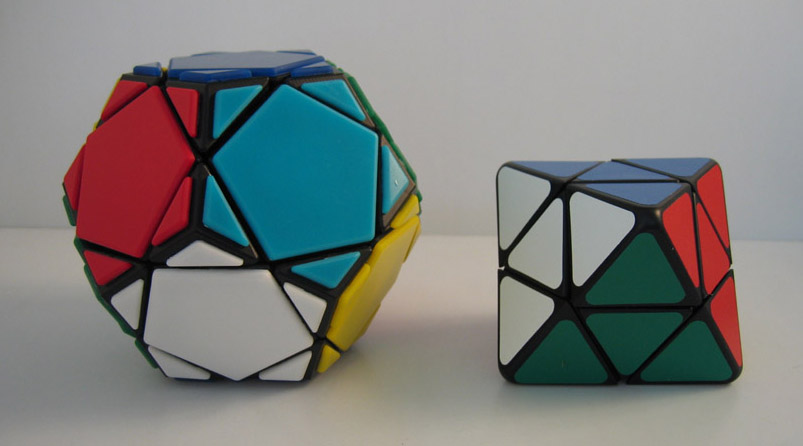
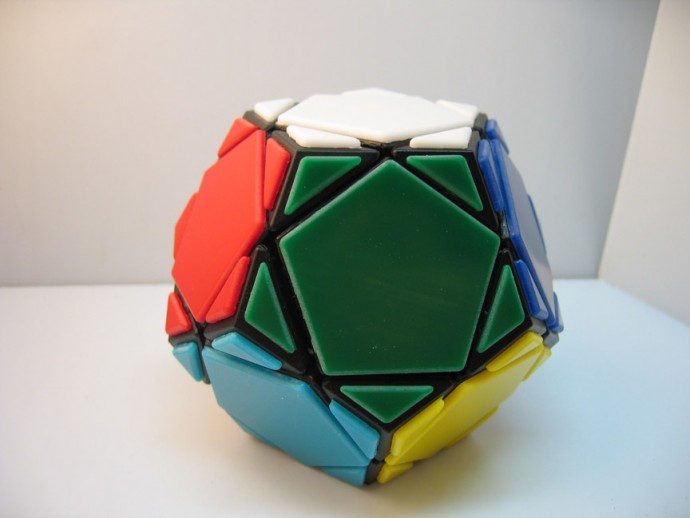
The finished result.
Here’s a video of the puzzle being demonstrated.
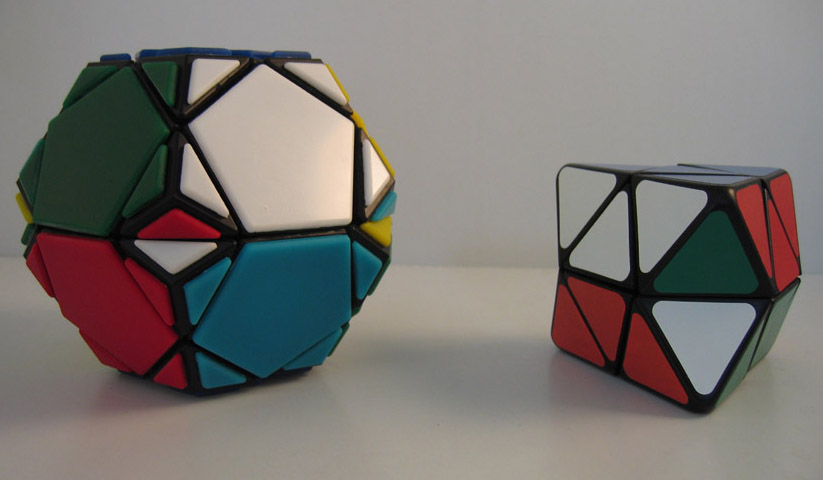
Since this is a prototype, there are a few problems with movement. The puzzle is sensitive to alignment. As you will see in the video, I turn it over in my hands before each turn to make sure the pieces are lined up properly. Once lined up, rotational movement is fair. The pentultimate contains 820 total individual pieces. 416 of the custom pieces are cast from 26 masters. 152 of the custom pieces are machined in copies of 15 shapes 568 parts are custom made, counting the 72 tiles. 252 parts come straight from hardware suppliers. In the end, all parts assemble to make only 32 moving parts. |


 \
\